Pick a workspace and begin
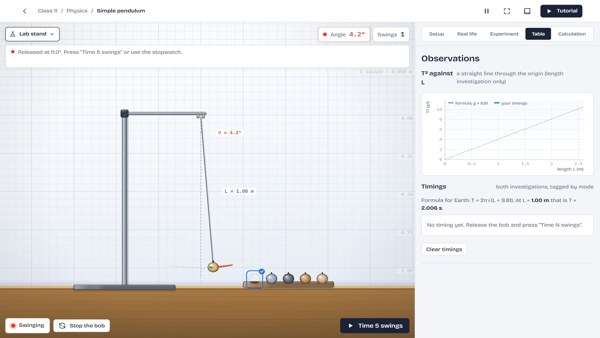
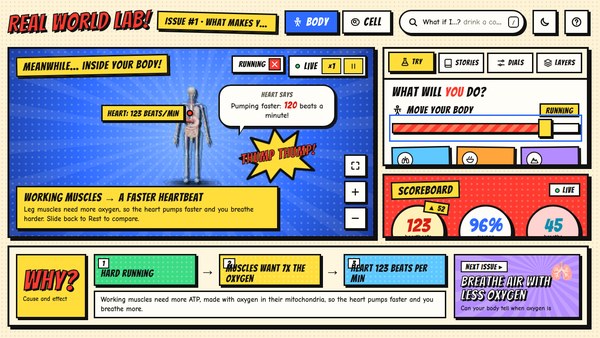
Open ATaL Bench, Digital NCERT, Maker’s Bench or Test Series from the cards above. The Human Lab is also available beside “Build it.” ATaL Bench works without signing in.
 IIT Mandi
Choose a workspace to open its portal.
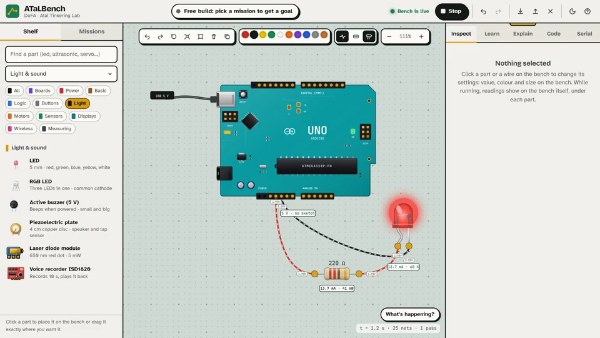
See what’s open nowConnect electronic components, write Arduino code and run your circuit on a virtual workbench.
Guest access available. Account saving requires sign-in.A small task with a clear place to begin.
Choose the First light mission. Connect a 5 V supply, a resistor and an LED. Run the circuit and check the current.
Open the First light missionTry it on this page
Close the switch and change the resistance. Find a value that gives 10–20 mA. Go too low and see what happens.
Colour bands: red, red, brown, gold
Simplified model: 5 V supply, 2 V LED forward voltage and a 30 mA limit for a typical 5 mm LED. Above that, the model treats the LED as burned out. Real components vary.
Open ATaL Bench, Digital NCERT, Maker’s Bench or Test Series from the cards above. The Human Lab is also available beside “Build it.” ATaL Bench works without signing in.
ATaL Bench saves guest work in your browser and lets you download a project file. Account saving is built; email sign-in is awaiting dedicated mail setup.
Privacy and storage informationWrite to the NewShiksha team for help with the tools, classroom use or a problem you have found.
newshiksha@iitmandi.ac.in